
Free Envelope Template: 3 Easy Sizes + Printable PDF
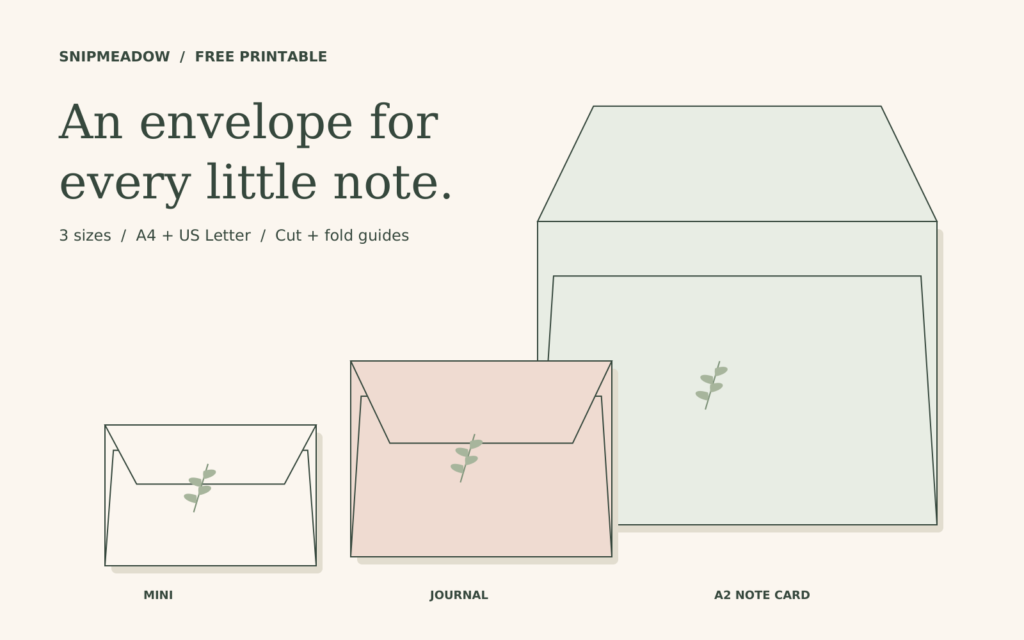
Download a free printable envelope template PDF for little notes, journal cards and handmade greetings. This set includes three cut-and-fold sizes: mini, journal and A2 note card. Choose the A4 or US Letter PDF below, print at 100% / Actual Size, then follow the cut, fold and glue guide. No email signup is needed.
Each PDF has four pages: one instruction sheet and three plain templates. The outlines include cutting lines, dashed fold lines and glue guides. The envelopes are blank so you can choose your own paper and decorations; the botanical accents in the illustrations are styling ideas, not printed artwork in the templates.
Download US Letter envelope template PDF
Download A4 envelope template PDF
Quick start: print only page 2 for Mini, page 3 for Journal or page 4 for A2. Select 100% / Actual Size and measure the scale bar before cutting. Both paper formats produce the same finished envelope sizes.
Table of Contents
Choose the right envelope template size
Measure the flat card or folded note you want to put inside first. Then choose an envelope with a little clearance on every side. The suggested insert sizes below allow room for the seams, but thick cardstock, extra layers and bulky embellishments may need more space. Try the insert in an unglued sample before decorating your final envelope.
| Template | Finished envelope (W x H) | Suggested flat insert, up to | PDF page |
|---|---|---|---|
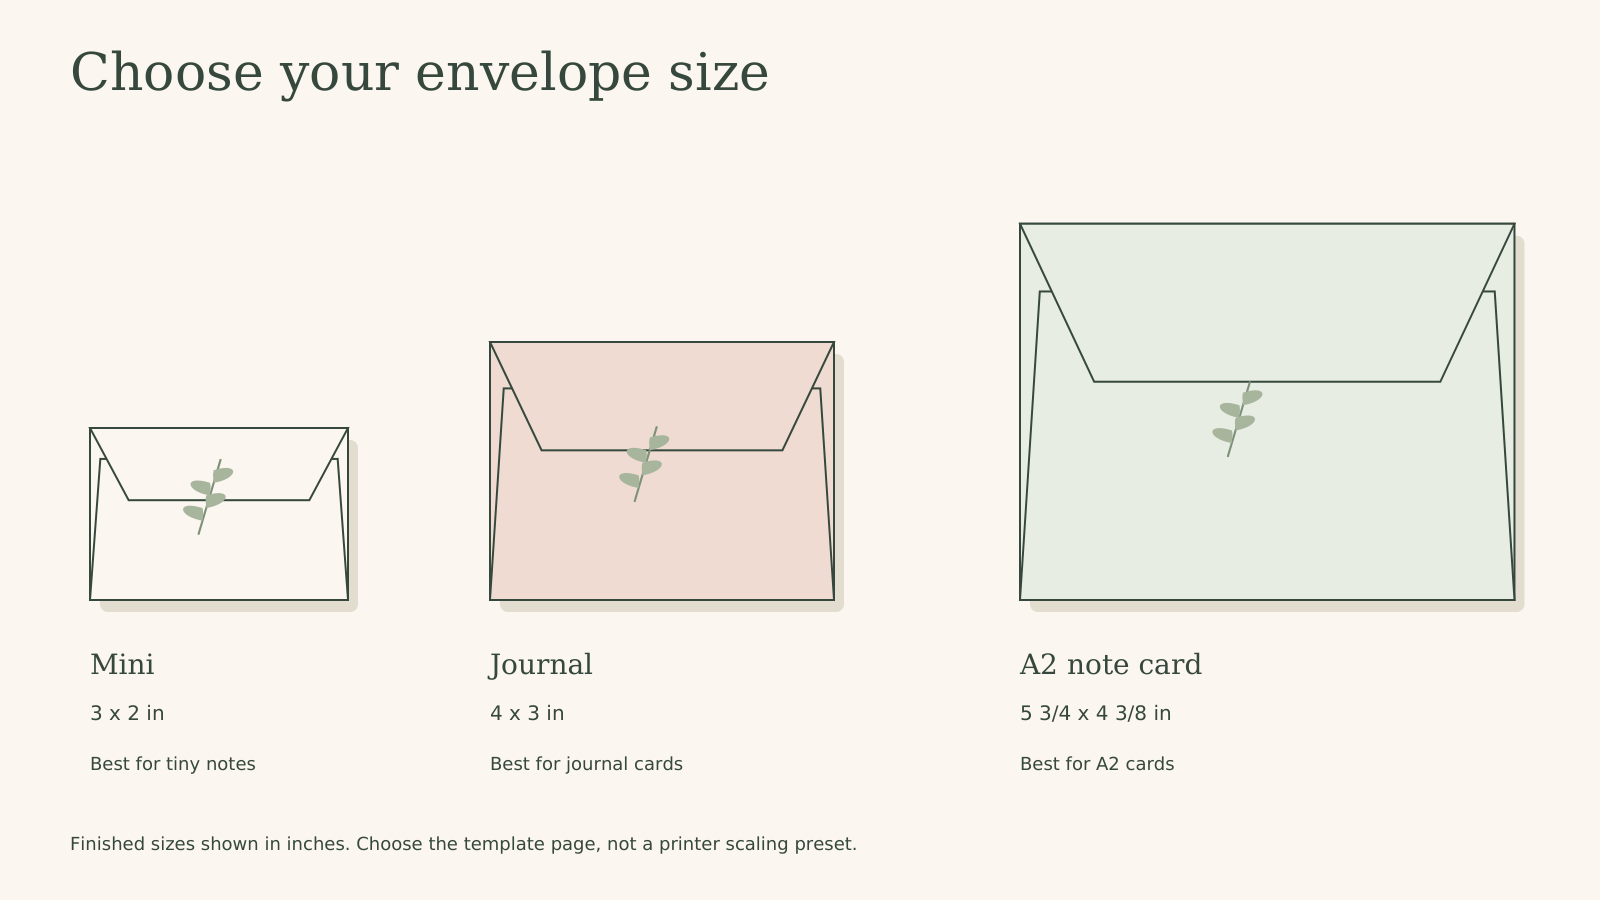
| Mini | 3 x 2 in / 76.2 x 50.8 mm | 2 3/4 x 1 3/4 in | 2 |
| Journal | 4 x 3 in / 101.6 x 76.2 mm | 3 3/4 x 2 3/4 in | 3 |
| A2 note card | 5 3/4 x 4 3/8 in / 146.1 x 111.1 mm | 5 1/2 x 4 1/4 in | 4 |
The mini size suits a short message or a tiny paper keepsake. Use the journal size for a removable writing card. Choose A2 for a flat A2 greeting card or a US Letter sheet folded into quarters. Here, A2 names the US envelope format; it does not mean a large ISO A2 sheet of paper.
Paper and supplies
- An A4 or US Letter printer and matching paper.
- Ordinary copy paper for a first sample; smooth colored or patterned paper for the finished envelope.
- Scissors, a ruler and a glue stick or narrow double-sided tape.
- A blunt scoring tool or bone folder, if you have one.
- Optional: a small sticker, a paper label, colored pencils or a botanical paper accent.
For a small journal envelope, thin paper keeps the folds light and helps the page close comfortably. If you want a sturdier result, try a slightly heavier paper that your printer can handle. Very thick card can make the flap edges spring open. Check your printer guidance before feeding unfamiliar paper through it.
You do not need to print directly onto decorative paper. Print the outline on plain paper, cut it out, then trace around it on the reverse of your chosen sheet. Mark the four fold corners lightly with pencil and connect them with a ruler. This is useful when you have a small scrapbook-paper offcut or a sheet with a design you want to position carefully. Our junk journal supplies guide has more simple materials to keep nearby.
How to print the envelope template at the correct size
Download the PDF that matches the paper in your printer. Open it in a PDF viewer and select the single template page you need. Keep portrait orientation, print one-sided, and choose Actual Size or 100%. Turn off settings called Fit, Shrink or Fit to printable area, because they change the finished dimensions.
Before cutting, measure either the 1-inch line or the 5-cm line at the bottom of the page. If the measurement is wrong, fix the print settings and try again. A correct-looking preview does not prove that the physical print is the correct size. The drawings in this article are previews and assembly illustrations; use the PDF for the full-size pattern.
The three patterns fit within both page formats. If your printer still clips part of an outline, check that you loaded the matching paper and selected the right PDF. Do not scale the page down silently: a smaller template also means a smaller envelope. You can instead use the printed outline as a guide and redraw any missing short edge with a ruler after checking the scale.
How to cut, fold and glue your envelope

1. Cut around the solid outline
Cut out the complete shape, keeping the top flap, bottom flap and two side tabs attached to the center rectangle. The dashed lines are folds, so leave those intact. Trim carefully around the small changes of direction where the flaps meet; a neat corner helps the layers sit flat.
2. Crease the four fold lines
Lay the cut shape with the printed side facing up. Fold each flap inward along its dashed line, crease gently, then open it again. If the paper is heavier, score lightly with a blunt tool and ruler first. Do not cut through the paper. Pre-creasing makes it easier to bring the edges together without pulling them out of shape.
3. Fold the sides, then glue the bottom
Fold the two side tabs inward. Their printed hatching will now face down. Apply a thin layer of glue to the exposed reverse of the hatched areas, staying within the parts that the bottom flap will cover. Keep adhesive away from the center panel and the upper part of the tabs so you do not seal the pocket shut.
Bring the bottom flap upward and press it onto the glued tabs. Keep its fold level with the bottom of the center panel. If using tape, place it on those same overlapping areas and remove the backing just before closing the flap. Let the adhesive dry according to its instructions before sliding anything inside.
4. Add the note and close the flap
Slip in your card without forcing it. The top flap folds down over the opening and overlaps the bottom flap. For a journal envelope you want to reopen, leave it unglued or hold it with a removable paper clip. For a gift note, a small sticker can keep it closed. Add your decoration after checking that the insert moves freely.
Simple ways to decorate and use your envelope
A plain envelope can be enough: cream paper, a small handwritten word and a single leaf-shaped accent make a quiet place for a memory. Choose one detail that connects it to your journal page. Try a date on the front, a small flower near a corner, or a narrow strip of patterned paper across the lower edge.
- Mini: tuck in a one-sentence gratitude note or a tiny label saved from a special day.
- Journal: add a removable card with a longer memory, a book quote or a short list.
- A2: pair it with a simple handmade greeting card or a folded letter.
To attach one to a journal, place adhesive on the outside of the flat front panel and leave the flap side facing you. That keeps the opening accessible. Position it away from the spine and check that the flap has room to lift. For an open-top alternative, try our printable junk journal pocket templates. You can also borrow a few botanical sticker placement ideas for decorating the outside.
Common envelope template problems and easy fixes
- The card will not slide in: check the scale bar, glue placement and insert measurements. Trim the insert slightly or choose a larger envelope if it has extra layers.
- The bottom flap lifts: strengthen the crease and press only the glued seams while the adhesive sets. Avoid soaking thin paper with wet glue.
- The pocket is glued shut: glue has reached the center panel. Start a new sample and keep adhesive on the side-tab overlap only.
- The pattern shows outside: begin folding with the printed side facing up so the marks end up inward. For a completely clean finish, trace the pattern onto another sheet.
- The top flap will not lie flat: remove bulky contents and check the fold. This envelope template is for flat paper pieces, not a gusseted pouch.
Download the free envelope template PDFs
Choose your paper format below. Each free download includes the same three envelope sizes plus the instruction page. You can print individual pages as needed. No email signup is required.
Download US Letter envelope template PDF
Download A4 envelope template PDF
The templates are original SnipMeadow cut-and-fold outlines. Their page dimensions and fold geometry have been checked digitally; they have not been physically print-tested. Make one sample on ordinary paper before using a special sheet. The PDFs are for personal use only. Please share this article link instead of redistributing or selling the files.
Envelope template FAQ
Can I make all three envelopes from one sheet?
Each envelope uses its own template page. Print page 2, 3 or 4 for the size you want. The PDF contains three sizes, not three envelopes arranged together on one sheet.
Is A4 different from the A2 envelope size?
Yes. A4 is the printer paper format. A2 in this set is a US note card envelope size. Both the A4 and US Letter PDFs make the same A2 envelope when printed at 100%.
Can I resize an envelope template?
You can scale a pattern for a custom craft project, but the listed dimensions and suggested insert sizes will change. Enlarging may also push the outline off the page. For the sizes in the table, keep the PDF at 100% and use the matching paper format.
Can I mail these envelopes?
These patterns are designed for crafts, journal keepsakes and hand-delivered cards. Mailing suitability depends on your postal service, the final dimensions, paper, contents and closure. Check your postal service before mailing one, especially the mini size. This set does not include address-positioning templates or postage guidance.
Where can I find other envelope styles?
If you would like to explore additional flap shapes and sizes, Aunt Annie’s square-flap envelope patterns offer another free craft resource. For a first SnipMeadow project, start with the journal size, add one small note and keep the decoration simple.
Make room for your next little project
Get new journaling ideas, printable releases and simple paper projects in SnipMeadow Creative Notes.
Joining is optional. The free PDFs above are available without an email signup.


Looking for another little project? Explore Journaling, Printables or Paper Crafts.