
Junk Journal Supplies: 5 Easy Basics for Beginners

Junk journal supplies can fit in one small box. For a first paper-and-writing page, gather a notebook, a handful of clean paper scraps, paper adhesive, scissors and a pen. Everything else can wait until you find a project that actually needs it.
This beginner guide helps you choose those five basics, compare a glue stick with a tape runner, and find substitutes in your own drawers. It is a practical selection guide, not a brand ranking or a shopping challenge. You can make a lovely page without building a large craft collection.
Table of Contents
Your junk journal supplies checklist
Check what you already own before adding anything to a cart. Set out one usable item from each row, then put the remaining supplies away. A clear table makes it easier to see what you can make.
| Basic supply | Start with | Buy only if needed |
|---|---|---|
| Notebook | An existing notebook that opens comfortably | A small notebook with paper suited to your pen |
| Paper pieces | Clean envelopes, wrapping-paper offcuts and plain writing paper | A small paper pack in colors you will use |
| Adhesive | A working glue stick or paper tape runner | One adhesive suitable for your chosen papers |
| Scissors | Comfortable scissors that cut paper cleanly | A basic paper-cutting pair |
| Pen | A pen you already enjoy writing with | One pen that does not bleed through your notebook |
These junk journal supplies are enough for flat collage and handwritten notes. Sewing signatures, painting wet backgrounds and attaching heavy decorations are different projects with different requirements. Start with the kind of page you want to finish today.
1. A notebook that works with your paper
Choose your notebook for comfort before appearance. Open it on a table and check whether you can reach the inner part of the page without forcing the spine. Lined, dotted and blank pages are all useful; the choice depends on how much writing you want to include.
Size affects how you work. A small page needs fewer scraps and suits short notes. A larger page offers more room for overlapping pieces, but it also takes more material to fill. If you already have a partly used notebook, a few clean pages are enough to try the hobby.
Paper weight alone does not tell you whether a notebook will suit every pen or adhesive. Try the combination you own on a spare page. Write a sentence, let it dry, and look at the back. Then attach a small paper offcut and check it after the adhesive has dried according to its label.
If the page wrinkles or the pen shows through, adapt the project before replacing the whole book. Write on a separate card, use fewer layers, or try a dry adhesive intended for paper. Leave wet painting and thick embellishments for a notebook designed to handle them.
2. A small mix of paper scraps
A useful paper selection has three jobs: a background, a decorative detail and somewhere to write. For example, combine a piece of kraft envelope, a narrow patterned strip and a plain cream card. You do not need three coordinating paper collections to get that variety.
Look for clean, dry, flat material. Envelope liners, leftover gift wrap, paper bags and unused calendar pages can provide interesting colors or patterns. Remove staples and avoid greasy packaging, shedding glitter or pieces that leave residue. Keep private information off pages you plan to photograph or share.
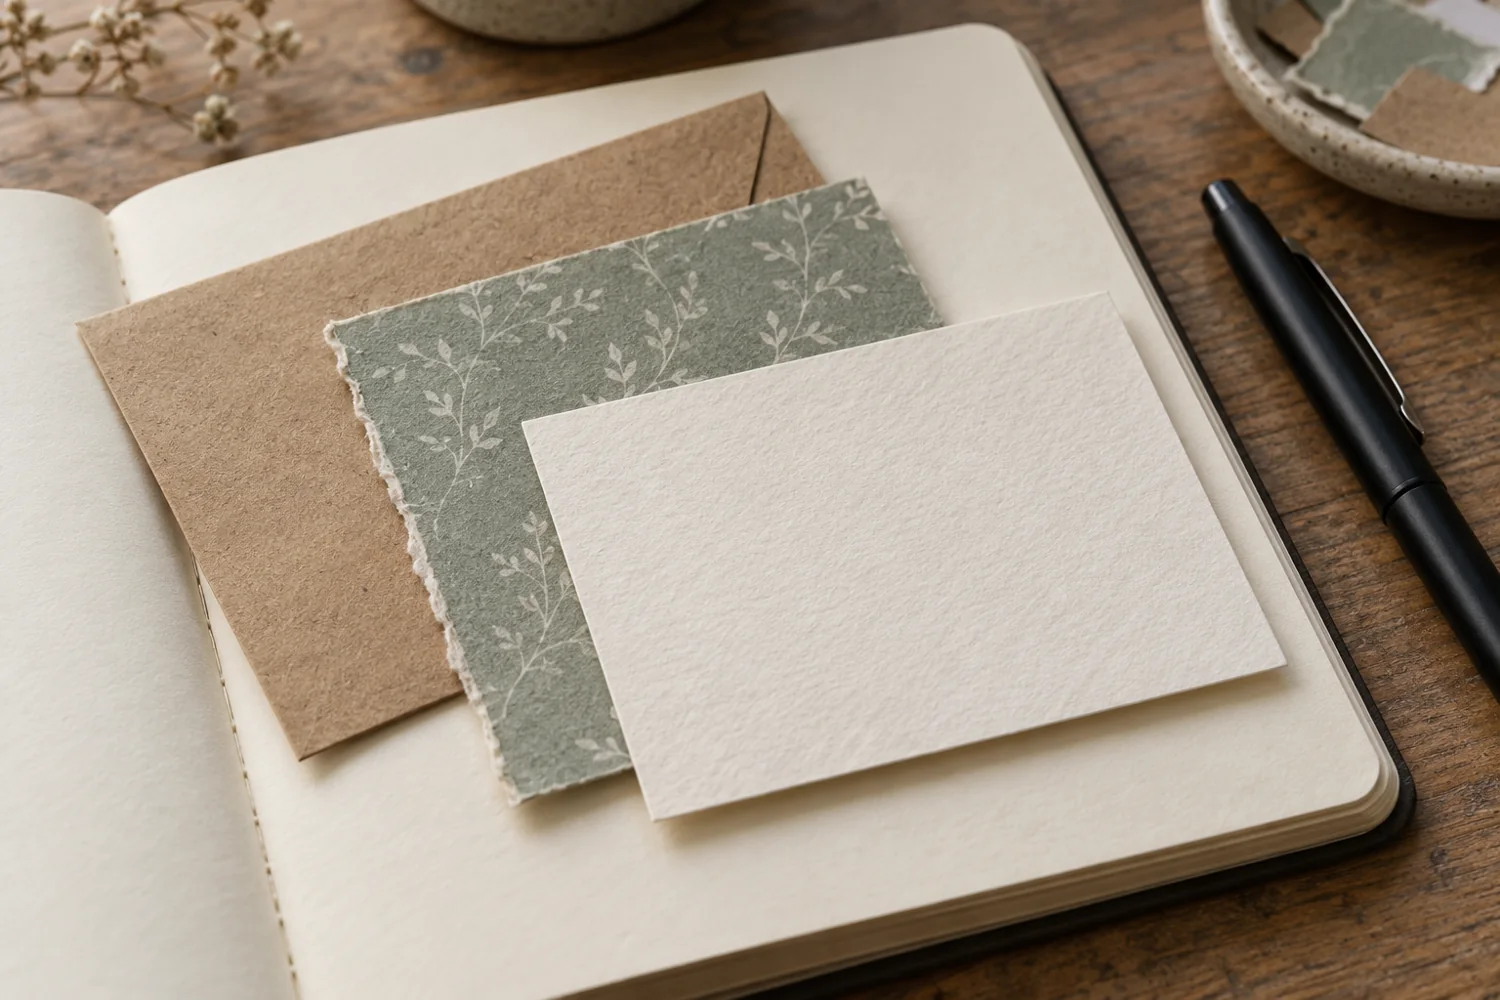
Save originals separately when a photograph, letter or ticket is irreplaceable. Use a copy in an everyday craft journal. The Library of Congress photograph-care guidance explains why storage and mounting materials matter for originals; ordinary craft glue is not automatically a preservation product.
If you enjoy botanical details, our free botanical tags and journal cards offer another paper option. Print only what you need. No printer? Cut a small rectangle from plain paper and draw a leaf or a simple border instead.
3. Paper adhesive: glue stick or tape runner?
Choose adhesive for the materials you are joining, not because another maker has a large collection. Check the product label for compatible surfaces, permanence and drying instructions. Test an unfamiliar combination on an offcut before attaching something you care about.
| Option | Useful starting point | Check before using |
|---|---|---|
| Glue stick | Lightweight paper backgrounds and ordinary paper scraps | Coverage at the edges and whether the paper wrinkles |
| Tape runner | Flat pieces when you want a dry application | Whether it is permanent or removable, and whether refills are available |
| Liquid paper glue | Selected paper or cardstock projects that need it | Amount used, drying time and suitability for thin paper |
| Photo corners | Holding a photo copy without gluing its face or back | Fit, bulk and the materials used if preserving an original |
A glue stick is a straightforward starting option when it suits your paper. Work on a spare sheet so you can reach the edges without getting adhesive on the desk. Apply an even layer, place the piece, and press gently. Replace your scrap work surface when it becomes sticky.
A tape runner places adhesive along a narrow path. It can be convenient for small cards, but you do not need one as well as a glue stick to begin. Some versions allow repositioning and others hold immediately, so decide on the placement before pressing the paper down.
More liquid glue does not necessarily mean a better result. Excess moisture can distort thin paper and squeeze onto neighboring pages. Follow the label and let the page dry fully before closing the notebook. For adhesive background, see the paper-crafting advice linked from Stampin’ Up!’s supplies guide.
4. Comfortable scissors, not a drawer of cutters
Use a pair you can control comfortably and that cuts your paper without chewing the edge. Large simple shapes do not require precision scissors. If you like torn edges, you can tear some background scraps by hand and reserve scissors for cards and smaller details.
Try one straight cut and one curve on a spare piece. If both are manageable, use what you have. A paper trimmer becomes useful when you repeatedly cut straight strips; a decorative punch becomes useful when you repeatedly want that shape. Neither belongs on an automatic beginner shopping list.
Keep blades closed when you put them away, and protect your table when using cutting tools. There is no need to add a craft knife to this starter kit: the flat paper layouts in this guide can be made with scissors and hand-torn scraps.
5. One pen you like using
Your pen has a clear job: make the words easy to write and read. A familiar ballpoint or fine writing pen is enough. Test it on the actual writing card because a smooth card, coated scrap and textured paper can respond differently to the same ink.
Write a short line, allow it to dry, and gently check for smudging. Look at the reverse side for bleed-through. If a pen catches on a rough surface, choose a smoother writing card rather than forcing it. Keep strong patterns behind the collage and use a quieter space for your words.
Add colored pens only when you know how you will use them. One dark pen and a colored paper accent can create a coordinated page without a large marker set. This keeps your junk journal supplies easy to pack and your choices manageable.
Useful swaps for junk journal supplies
| Instead of buying… | Try this first |
|---|---|
| A themed ephemera pack | A few clean paper scraps in two related colors |
| Decorative label stickers | Plain paper rectangles with a hand-drawn border |
| Pre-made journal pockets | A folded paper pocket made from an offcut |
| A large organizer | One small box and an envelope for loose scraps |
| A matching starter kit | Your own five basics, chosen separately from what you already own |
A substitute only helps if it is usable. Skip a scrap that is too dirty, thick or fragile for the page. You can also decide that a particular item is worth buying later. The goal is to learn which junk journal supplies solve a real problem for you, rather than collecting everything at once.
For an easy pocket project, use our three free junk journal pocket templates. You can compare the shapes on screen before choosing a style. Keep pockets shallow and additions flat while you learn how much bulk your notebook can hold.
What can wait until later?
Optional junk journal supplies include washi tape, stamps, ink pads, specialty punches, ribbons and large paper packs. They can be enjoyable, but they do not replace a workable notebook, adhesive or a clear place to write. Choose one extra only when you can name the next project it will help you make.
Before buying a kit, read its contents rather than relying on the styled photo. Does it contain a notebook and adhesive, or mostly decorative pieces? Are the paper sizes useful for your pages? Will you use several pieces, or are you buying the collection for a single attractive item?
A sensible purchase order is to replace missing basics first, solve a repeated difficulty second, and add decoration third. For example, a pen that bleeds through every card is a specific problem. Wanting every color of tape before you have made a page is a preference you can postpone.
Pack a small starter kit and make one page
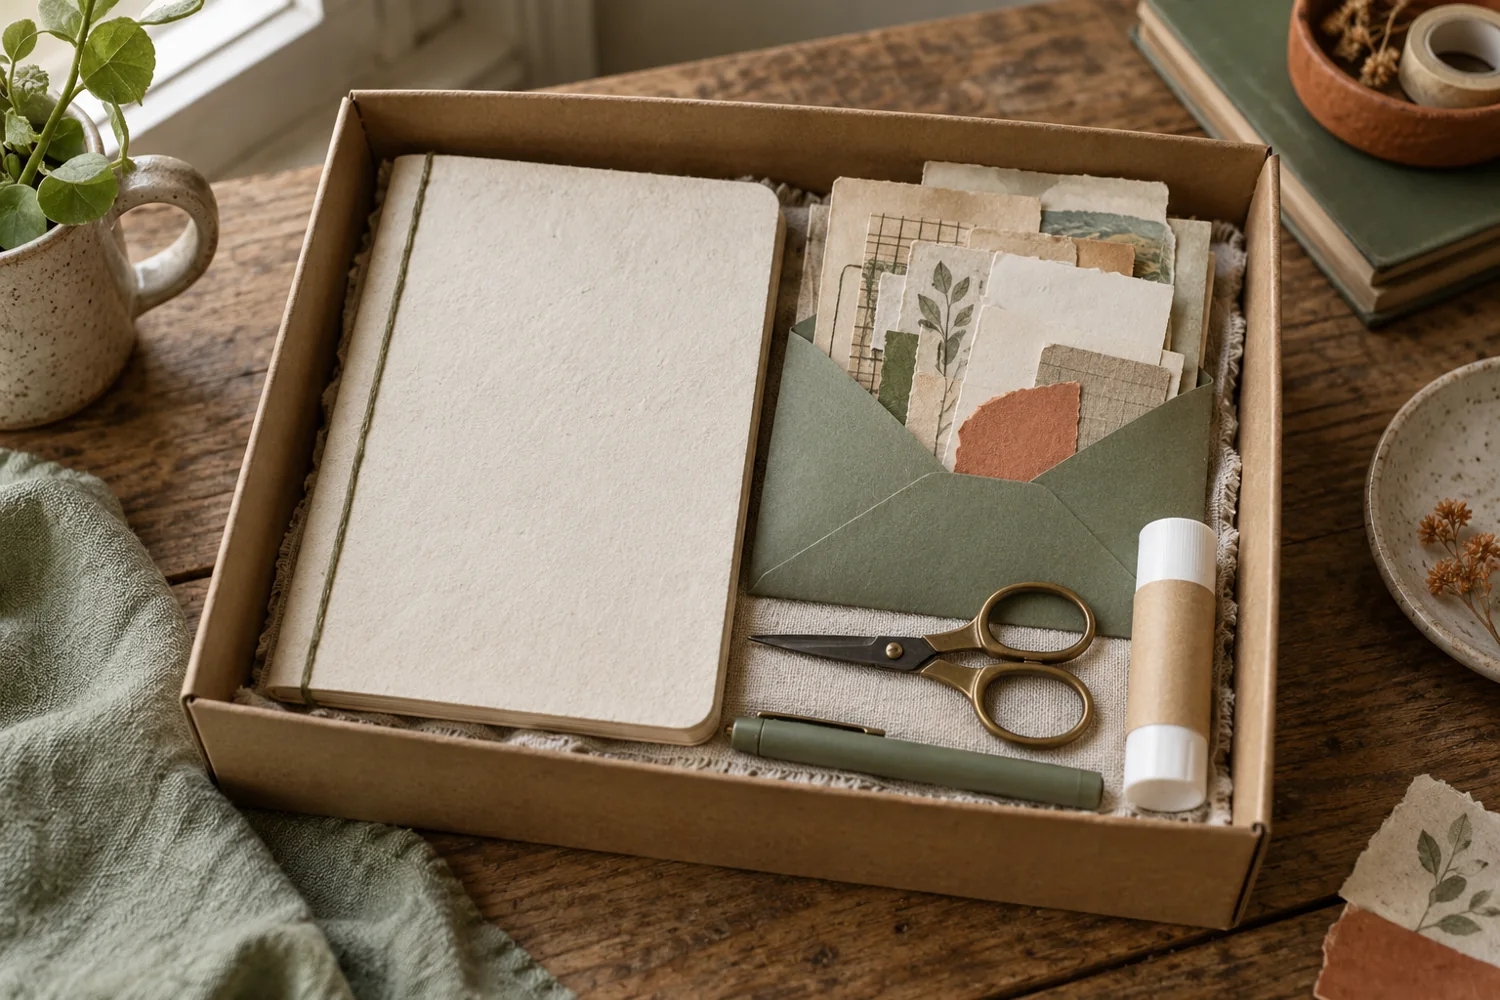
Put your notebook, scissors, pen and adhesive in a small box or pouch, with paper scraps in a separate envelope. Cap the adhesive and pen, close the scissors and keep the kit dry. When the envelope gets too full to browse easily, use or sort some paper before saving more.
Now give the kit a quick trial. Pick a background scrap, a small plain card and one decorative detail. Arrange them without adhesive, write a date and a sentence on the card, then attach the pieces. Notice what felt easy and what was awkward. That observation is more useful for your next purchase than a long wish list.
Our seven-step guide to starting a junk journal walks through the making process. For different arrangements, explore nine easy junk journal page ideas. Use this supplies guide when choosing materials, and those tutorials when you are ready to make something.
Questions about beginner junk journal supplies
Do I need an expensive starter kit? No. Check your existing notebook, scissors, pen, adhesive and paper first. Buy only a missing or unsuitable basic. A themed kit is optional and should suit the projects you want to make.
Can I use ordinary printer paper? It can work for writing cards and lightweight paper pieces. Test your pen and adhesive first, and avoid assuming it will handle wet paint or heavy layers. You can attach a separate card if the notebook paper is very thin.
Do I need both a glue stick and a tape runner? No. Begin with one paper-compatible adhesive. Try another type only if the first does not suit a particular paper or the way you like to work.
Which junk journal supplies should I buy next? Choose the item that solves a problem you noticed while making a page. If nothing is missing, make another page before shopping. Your own projects will show whether you need a different pen, a cutting tool or simply fewer scraps on the table.


Looking for another little project? Explore Journaling, Printables or Paper Crafts.