
21 Vision Board Ideas You Can Make in a Journal
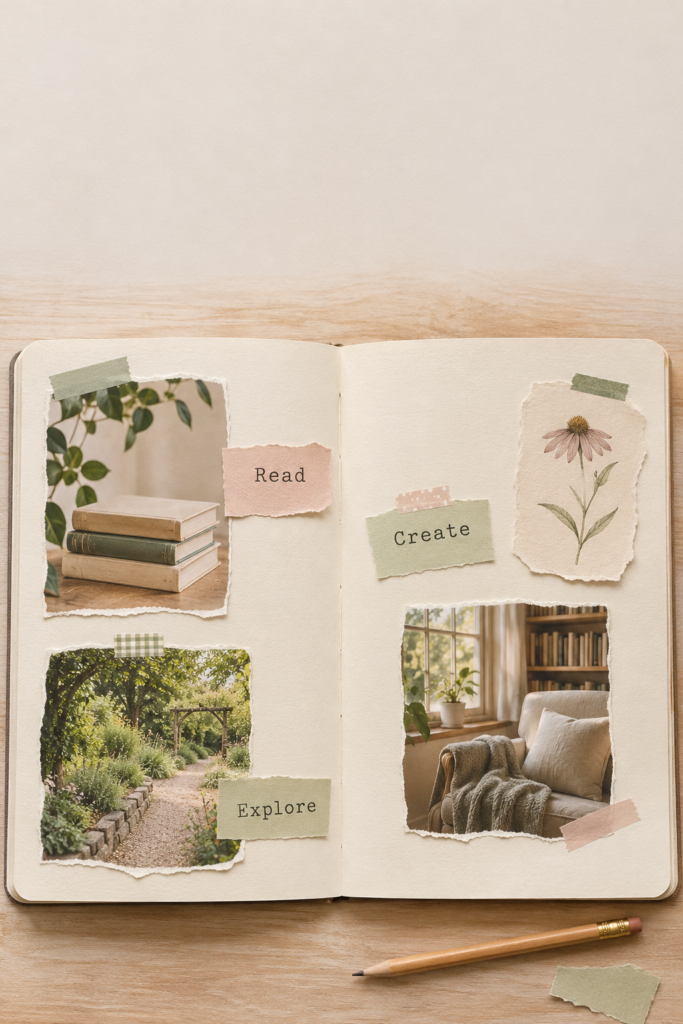
These vision board ideas turn a notebook page into a place for the things you want to make, learn and experience. Start with one goal, a few pictures and a short note about what you will do next. You can use a plain journal, a loose sheet of paper or an index card tucked inside a book.
A reading corner, a finished sketchbook or a weekend spent exploring somewhere nearby can all belong on your board. The useful detail is what each picture means to you. A photograph of a desk might stand for writing a story; a drawn teacup might mean making time for a friend.
Below are 21 small projects, three page arrangements and a simple way to put your first board together. Choose one idea to begin. You do not need to fit all 21 onto the same spread.
Explore the 21 vision board ideas
Table of Contents
What is a vision board
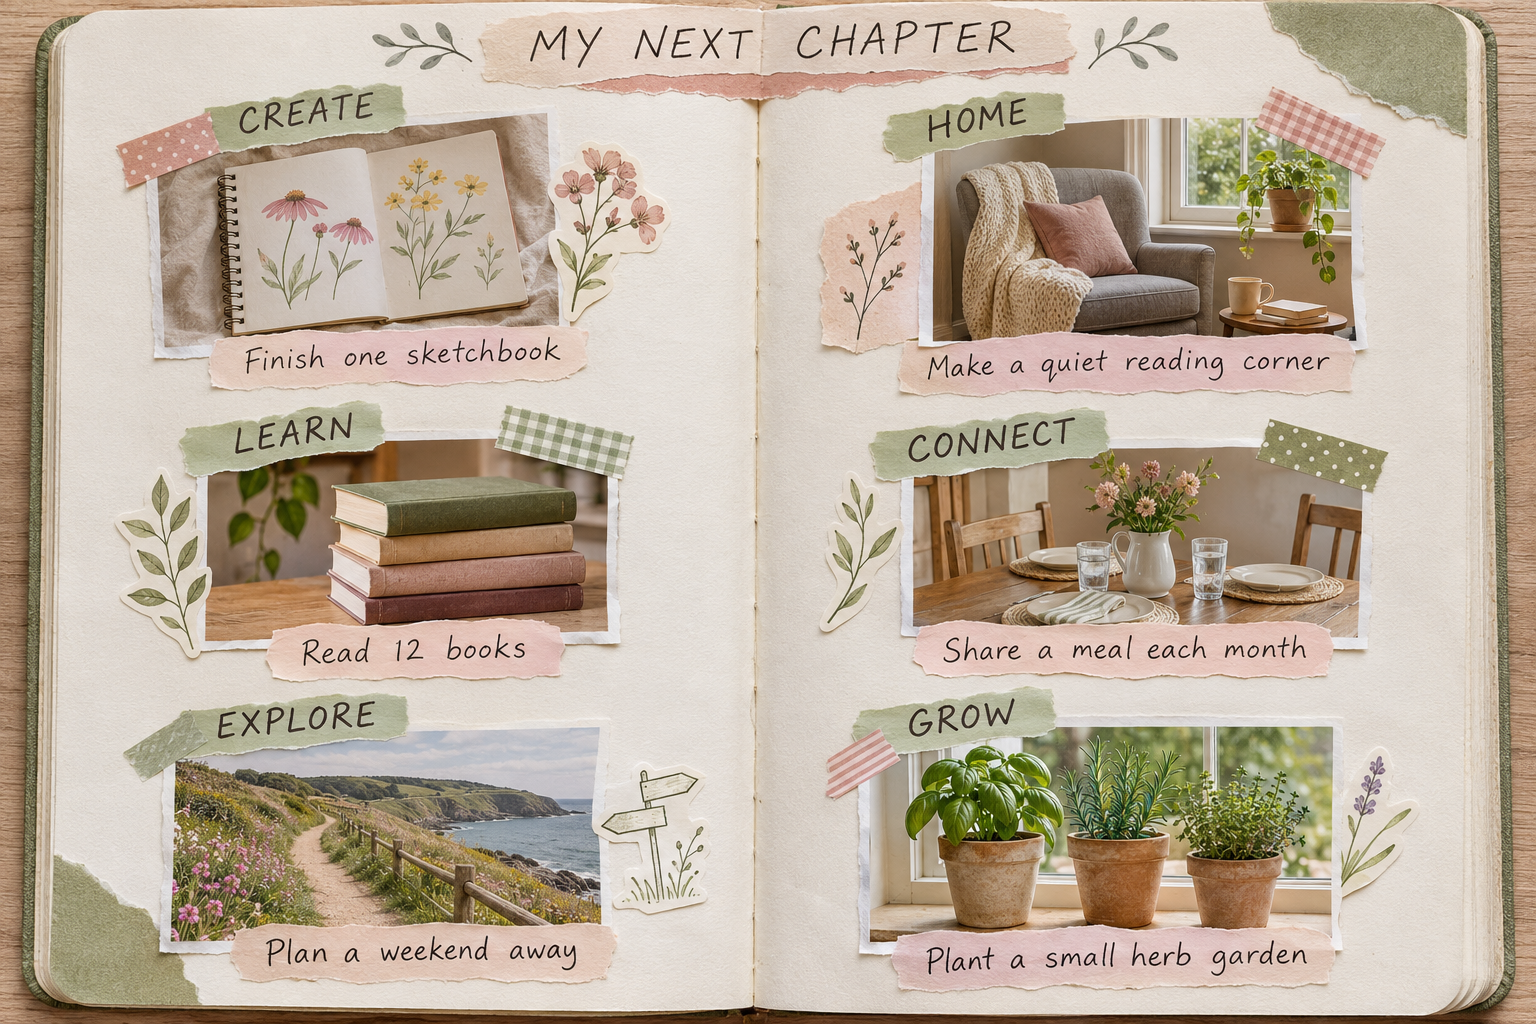
A vision board is a collection of pictures and words representing goals or experiences you want to work toward. It can live on a wall, on a screen or inside a notebook.
A journal version keeps the collage beside your notes and plans. In her guide to vision boards in a Bullet Journal, Sakuraco Bryant describes placing the board where she already reflects and plans. That is a useful starting point for choosing where yours will go.
Treat the board as a reminder. Beside a picture of what you want, leave room for an action you can take: borrow a book, clear a work surface, practice a drawing or choose a date.
Choose a starting point
If you are unsure which of these vision board ideas to try, choose by the space and supplies you already have.
| What you have | A good first project | What to put on the page |
|---|---|---|
| One empty journal page | Three small goals | Three pictures and one next step under each |
| A pocket or envelope | A monthly pocket board | A fixed picture with a removable action card |
| No printer | A words and doodles board | Handwritten verbs, small drawings and a date |
| A full notebook spread | A picture and planning pair | A collage on the left and actions on the right |
| A few minutes and an index card | A portable mini board | One goal, one picture and one next step |
Gather a few simple supplies
Use a notebook or sheet of paper, a pencil or pen, scissors and a glue stick. Add a ruler if you want straight borders. Pictures can come from your own photographs, drawings or paper materials you already have.
Washi tape, colored pencils and decorative scraps are optional. For a journal that closes comfortably, start with thin paper and keep bulky pieces away from the spine. Test the page arrangement before adding glue.
A board made from handwriting and three small drawings is enough. If you would like a few paper shapes to begin with, explore our collage art ideas and printable paper pack.
21 vision board ideas for your journal
1. One word with three everyday scenes
Write a word such as “explore,” “create” or “connect” near the top of the page. Under it, arrange three small pictures showing what that word could look like in an ordinary week.
For “create,” try a pencil, a paper flower and an open notebook. Add a specific caption under each: “draw after breakfast,” “finish one card” or “write on Sunday.” Keep the lettering larger than the decorative details.
2. One goal with a wide caption
Give one picture most of the page and leave a wide strip below it for writing. This arrangement suits a goal you want to keep simple, such as finishing a short story or assembling a photo album.
In the caption, name the goal and the next task. “Finish the family album” becomes more usable when followed by “choose ten photographs this weekend.”
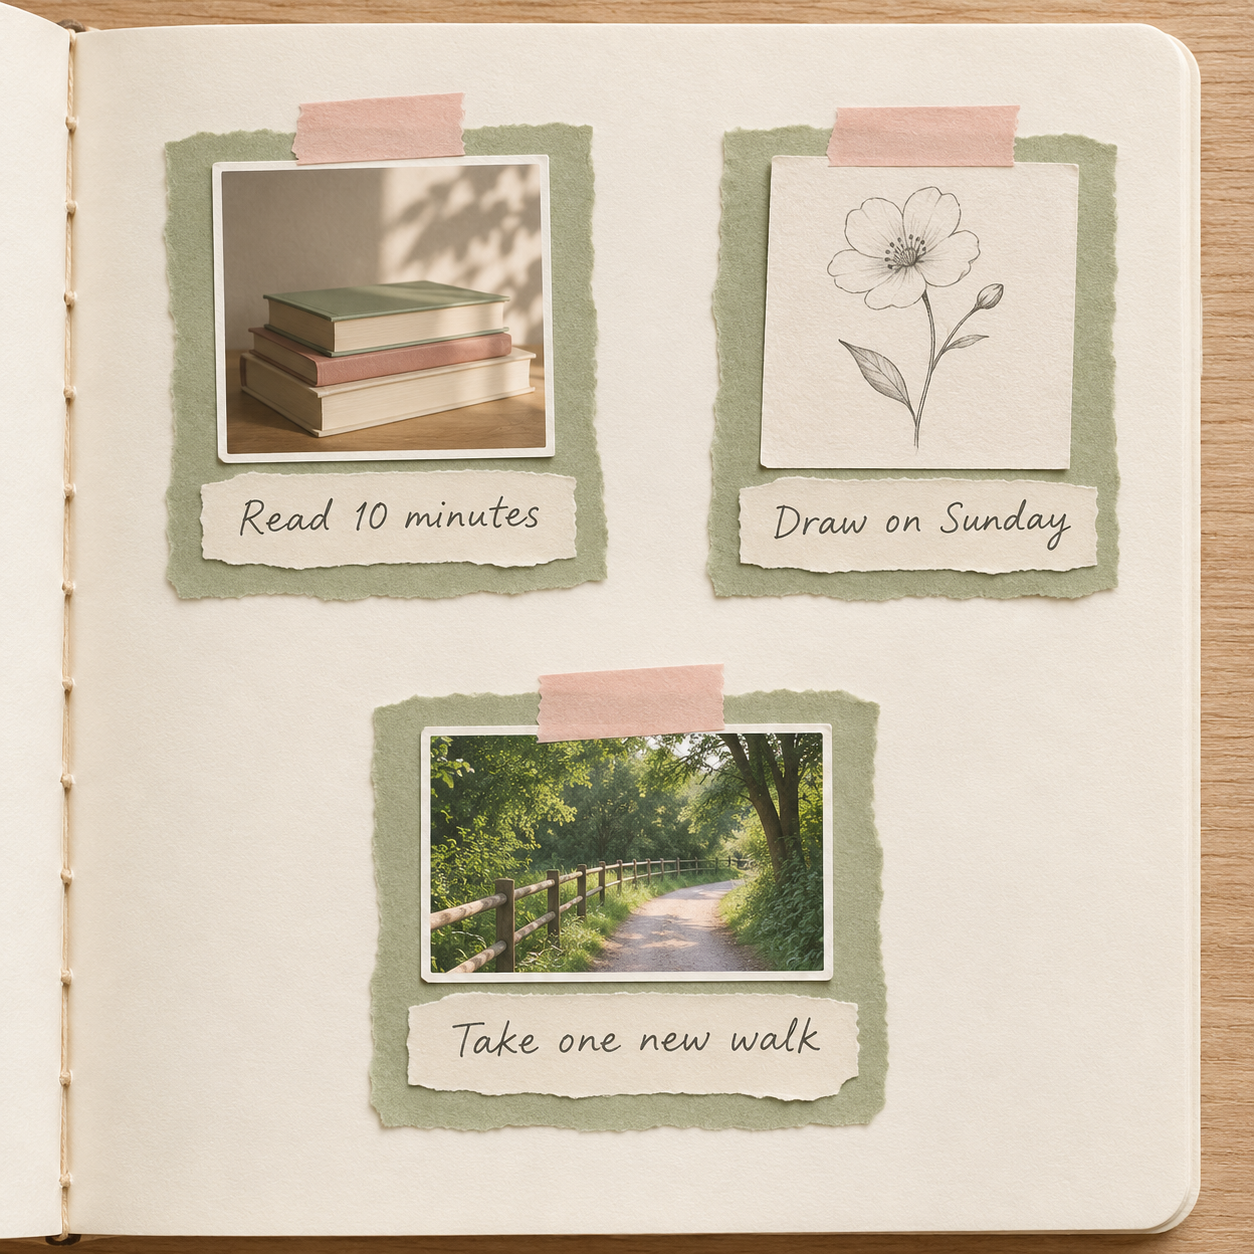
3. Three small goals in separate windows
Draw three boxes across a spread or stack them vertically on a single page. Give each box one picture, a short heading and a line for a next step.
You might choose reading, drawing and spending time outside. Keep the boxes separate so each goal stays easy to find. Leave the lower edge of each box clear for a date or a brief progress note.
4. Four seasonal corners
Divide a spread into four areas labeled spring, summer, autumn and winter. Add one experience you would like to make room for in each season.
A picnic sketch, a beach photograph, a leaf collage and a stack of books can create a gentle starting point. Write a possible month beside each idea. Leave some space empty so the page can change as your year takes shape.
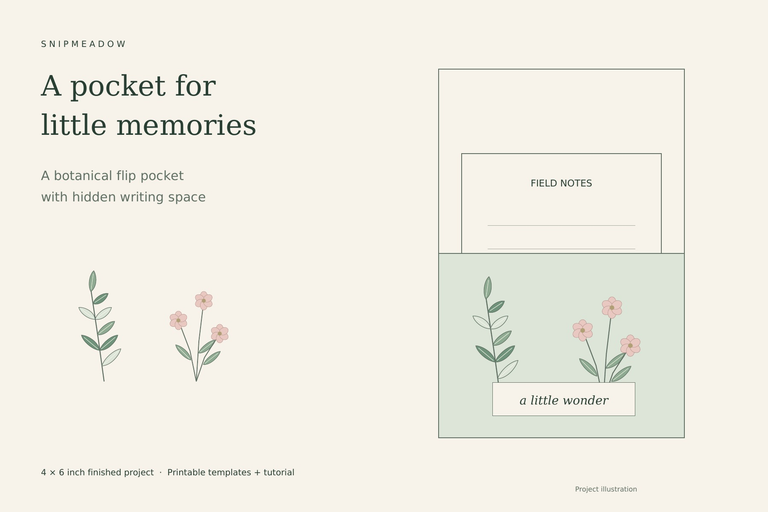
5. A monthly pocket board
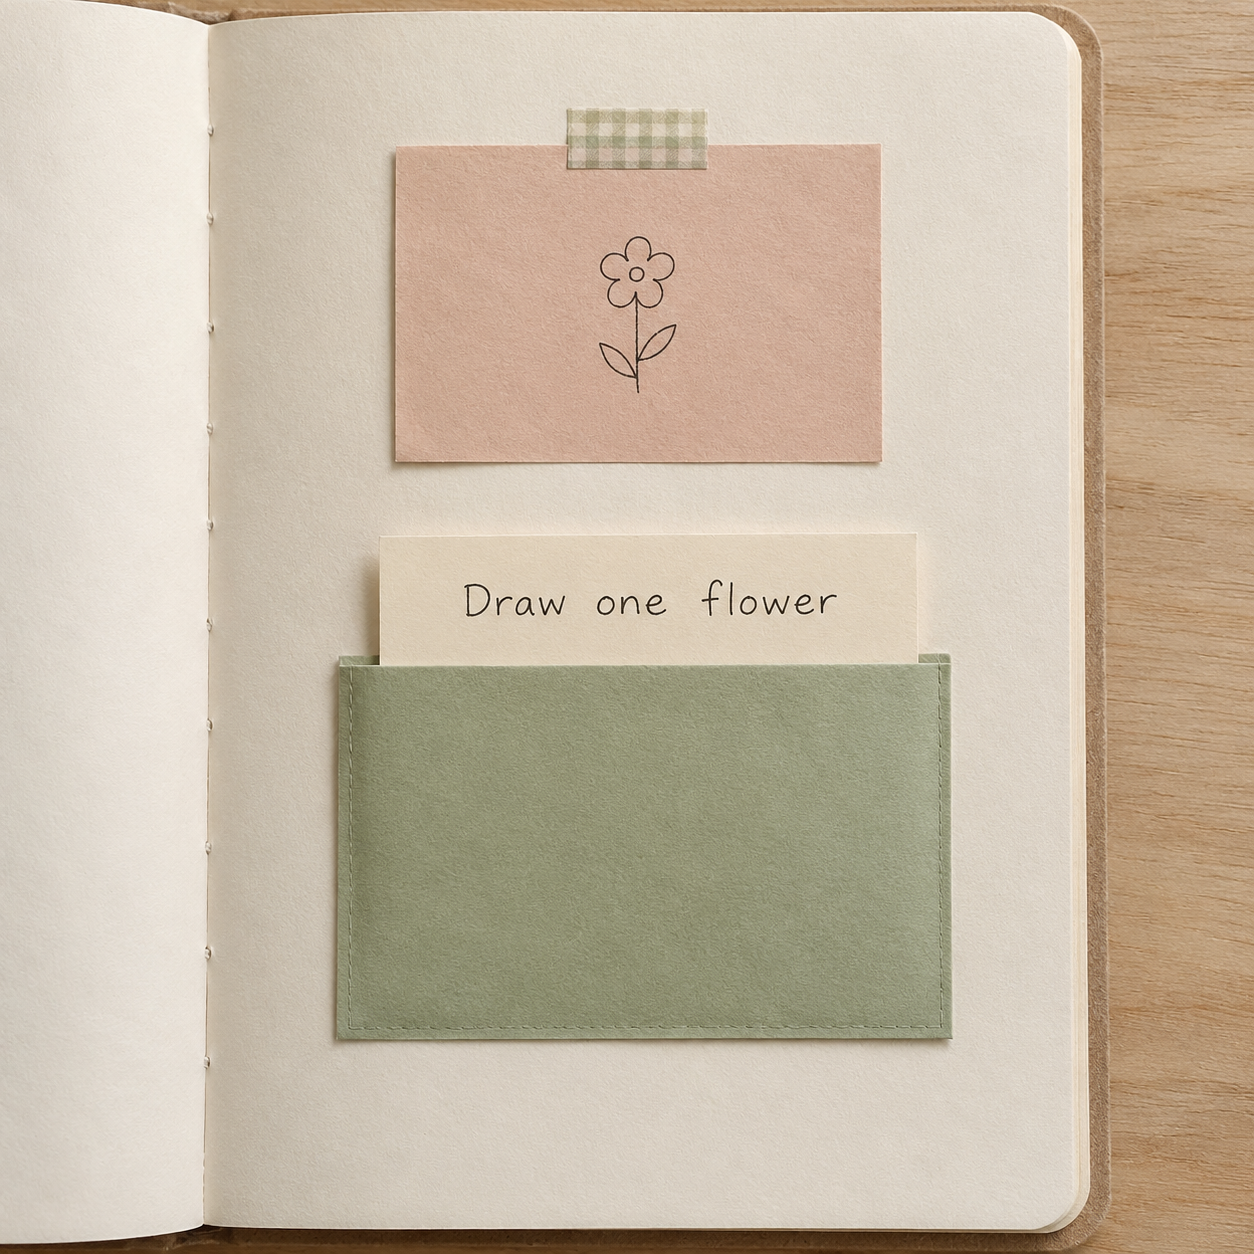
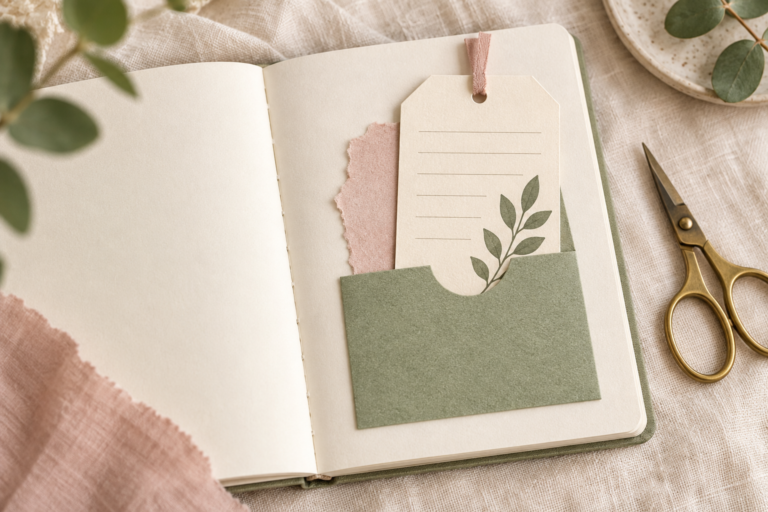
Attach a small paper pocket to the lower half of a page. Above it, place a picture representing your focus for the month. Put the current action on a card that slips into the pocket.
For a drawing project, the picture could be a flower sketch and the card could say “practice five petals on Tuesday.” Our journal pocket templates offer three shapes to try.
6. A foldout year board
Fold a thin sheet into three panels and check that it fits inside your notebook when closed. Attach one outer edge with a narrow strip of tape, keeping the fold clear.
Use the first panel for what you want to try, the middle for what you want to continue and the last for a project you want to finish. Add the year to the cover flap. The inside can stay undated until you choose your plans.
7. A reading year bookshelf
Draw six or twelve empty book spines. Write a reading direction on a few of them: a new author, a poetry collection, a book borrowed from a friend or a subject you want to understand.
Keep other spines blank for discoveries. Add a small reading scene and a note about when you want to read. Pair the page with our reading journal printable when you are ready to record finished books.
8. A craft skill sampler
Create three small sample areas for skills you would like to practice. One might hold a folded paper shape, another a simple doodle and the third a tiny torn-paper collage.
Under each sample, write the next exercise rather than a broad label like “be creative.” For example, “make three even folds” gives you a clear place to begin. Use flat samples so the notebook can still close.
9. A study term page
Choose one subject or skill and put its name in the center of the page. Arrange three small cards around it for practice, questions and a finished piece of work.
A language page might include a conversation bubble, a short reading list and a space for new phrases. Write the first study session beside the practice card. Keep decorative cutouts away from the places where you will add notes.
10. A map of nearby adventures
Sketch a loose map with three places you would like to explore: a library, a park, a gallery or a neighborhood you rarely visit. The map can be symbolic; it does not need accurate distances.
Add one small picture or doodle for each stop. Under the map, write what you need to check first, such as opening hours or transport. Leave a space for a ticket or a note after you go.
11. One corner of your home
Focus on a single shelf, desk or reading chair. Draw the space as it is, then place a small inspiration card beside it showing one change you would enjoy.
You might want a clear writing surface, a lamp beside a chair or a basket for paper scraps. Begin with something you can rearrange using what you own. Add a short task, such as “sort the desk drawer on Saturday.”
12. A page for time together
Use two or three simple symbols for activities you would like to share: teacups, a game board, a picnic blanket or an envelope. Give each symbol a short caption.
Write an invitation or first step on a separate card. “Ask Sam about a Sunday walk” is easier to act on than “see friends more.” If the notebook is sometimes shared, initials can keep the page personal without listing private details.
13. An outdoor noticing page
Make a narrow border of leaves, clouds or little flower drawings. Inside it, place three experiences you want to notice more often: changing light, unfamiliar plants or a favorite walking route.
Add a place and a possible day beside one of them. Keep a small blank box for a sketch or observation afterward. Our botanical journal corner ideas can help you decorate the edge.
14. An evening you want to repeat
Arrange a short sequence of three pictures showing an evening you would enjoy. It might be putting supplies away, making a drink and reading a few pages.
Choose details that fit your actual space and routine. Write one small preparation beneath the pictures, such as “leave the book beside the chair.” This page is especially simple to make with doodles instead of printed photographs.
15. A project savings card
Place a picture of one planned project on a removable card: a course, a set of materials or a trip you are considering. Leave room below it for your own cost notes and a target date.
Keep personal amounts on the back if you prefer. The card can move into a journal pocket when the plan changes. The first task might simply be checking the price or deciding what you already have.
16. A keep and grow spread
Label the left page “Keep” and the right page “Grow.” On the left, collect small reminders of things you already value. On the right, choose one way you would like to give them more room.
A photograph of a family meal might connect to a plan to cook together again. A finished drawing could lead to a new practice page. Use our gratitude journal guide if you want help writing the reflection.
17. A color palette with a purpose
Choose three colors, then give each one a role. Sage might mark learning, blush might mark relationships and cream might hold your practical notes.
Repeat those colors in labels or paper borders. Add a picture and an action for each area so the palette supports the meaning of the page. You can make this with tiny scraps; there is no need to cover the whole background.
18. A board made entirely from words
Write five verbs on separate pieces of paper, such as read, visit, draw, learn and finish. Arrange them with generous space between them.
Under each verb, complete the sentence with something specific. “Learn” might become “learn to draw a daisy.” Choose one sentence to act on first and add a date. This is a useful option when you have no photographs or prefer a quieter page.
19. A board made from saved paper
Look through clean paper packaging, old envelopes and scraps from other projects. Choose a few pieces whose colors or shapes suit your goal.
Turn an envelope window into a frame, a plain reverse side into a caption or a narrow strip into a border. Keep the main picture and words easy to read. Use materials without private addresses or information you would not want visible in a photograph.
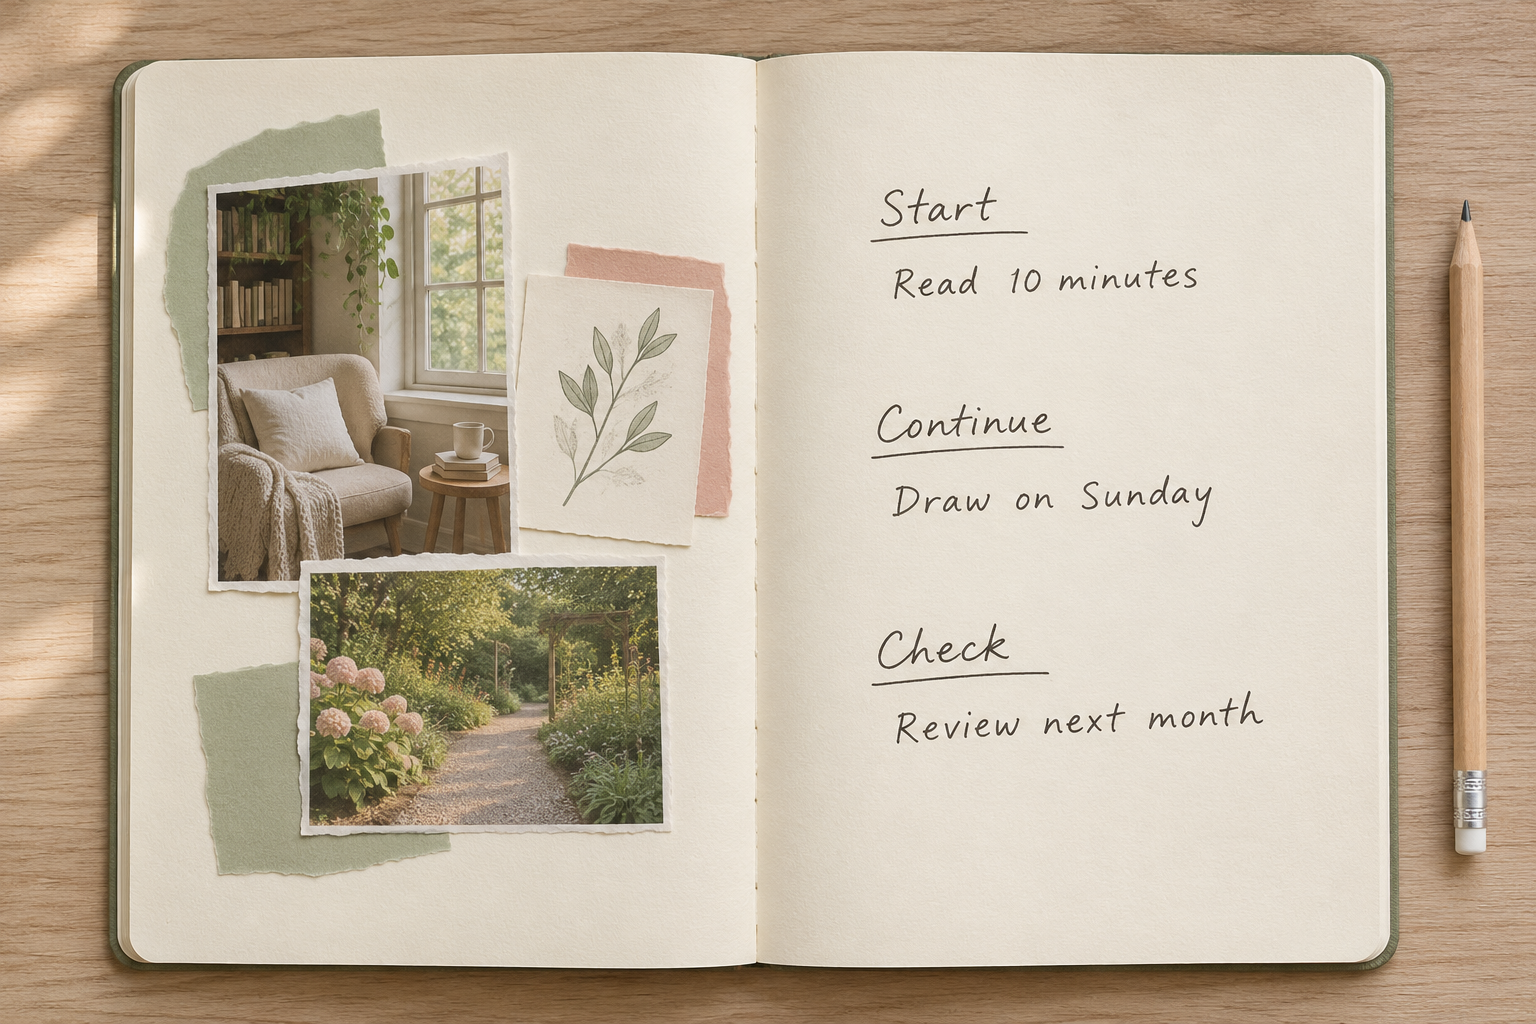
20. A picture page beside a planning page
Use the left page for a loose collage and keep the right page mostly open. Write three headings on the right: “Start,” “Continue” and “Check.”
Place one action under each. A creative project might begin with choosing materials, continue with a weekly practice session and end with checking what is ready to share. The separate planning page leaves room for changes without covering the collage.
21. A portable index card board
Choose one index card or a small piece of thin card. Put a tiny picture on the front with a short goal. On the back, write your next action and a date to look at it again.
Slip the card into your notebook or use it as a bookmark. Keep both sides flat and avoid loose embellishments. When the goal changes, save the old card in a pocket as a record of what you tried.
Three easy page layouts
Choose a layout before you cut your pictures. These arrangements work with drawings, words or small photographs.
| Layout | Where the pictures go | Where to write |
|---|---|---|
| Three windows | Three equal boxes across a spread or down a page | One action immediately below each box |
| Picture and pocket | One main picture in the upper half, a pocket below | A removable card inside the pocket |
| Two page pair | A collage on the left page | Goals and next steps on the right page |
For a botanical style, repeat a small leaf detail in two corners and leave the middle open. A cream background with a few sage or blush accents can tie different scraps together without making the page crowded.
How to make your first vision board
Choose a focus and a time frame
Decide whether the board is for a month, a season, a year or one project. Write a sentence beginning “I want to make more room for…” and finish it in your own words.
If several ideas arrive at once, list them on a spare page. Choose one to three for this board and keep the rest for later.
Collect a small set of pictures and words
Gather a few pictures, scraps or doodles that connect to your choices. Use your own images and artwork, or materials you have permission to reproduce when you plan to share the finished design online.
Keep captions short enough to read at a glance. A picture with a clear personal meaning is more useful on the page than a decorative image you cannot connect to a goal.
Arrange everything before gluing
Place the largest picture first, then add smaller pieces around it. Check that the notebook closes and that nothing catches in the fold.
Leave a clear area for writing. If two pieces compete for attention, set one aside and look again. Taking a quick photograph can help you remember the arrangement while you glue.
Add one next step for each goal
Use a sentence that describes something you can do. For example, write “choose the first five photographs” beneath an album picture, or “borrow one poetry book” beside a bookshelf.
You can copy this little planning card into the page:
- What I want to make room for:
- Why it matters to me:
- My next small step:
- When I will try it:
- When I will look at this again:
Return to the page
Choose a moment to revisit the board, such as when you plan the next month. Add a short note about what happened, change a step that no longer fits or move a completed card into a pocket.
The page can become a record of your choices as well as a reminder of what comes next.
Common problems and simple fixes
The board feels crowded. Remove a few pieces and give the remaining pictures more space. You can keep unused scraps in an envelope for another page.
The goals feel too large. Choose one part you can begin. A whole room can become one shelf; a complete sketchbook can begin with one drawing.
The page looks attractive but feels vague. Read the captions without looking at the pictures. Add a name, an activity or a next step wherever the meaning is unclear.
Your plans have changed. Replace a card or add a dated note. Removable pieces make this easier, but a handwritten correction works too.
Questions about vision board ideas
What should I put on a vision board
Include pictures or words connected to goals you actually want to work toward. Add a brief explanation of what each one means and a next step. A page can focus on learning, creative projects, relationships, everyday experiences or one specific plan.
Can I make a vision board without a printer
Yes. Use handwriting, drawings, colored paper, magazine cutouts or clean paper scraps. The words-only board and three-window layout are easy places to start without printing anything.
Can I make a vision board in a small journal
Yes. Use one picture and one action, or make a removable card that fits inside a pocket. If the page is small, reduce the number of elements rather than making all the text tiny.
Do vision boards make goals happen
A board can serve as a visual reminder of your intentions. Making or looking at one does not guarantee an outcome. Connect the pictures to decisions and actions, then adjust your plan as you learn what works for you.
Should I make a new board every year
You can, but a month, a season or a single project is also a useful time frame. Update the board when your priorities change or when it stops reflecting what you want to do.
Start with one small page
Choose one of these vision board ideas, gather three pieces of paper and write one next step. Leave room to come back.
For more ways to arrange pictures and keepsakes, try our beginner journal page ideas. You can borrow a layout and give it a new purpose with your own goals, words and small paper details.
Looking for another little project? Explore Journaling, Printables or Paper Crafts.